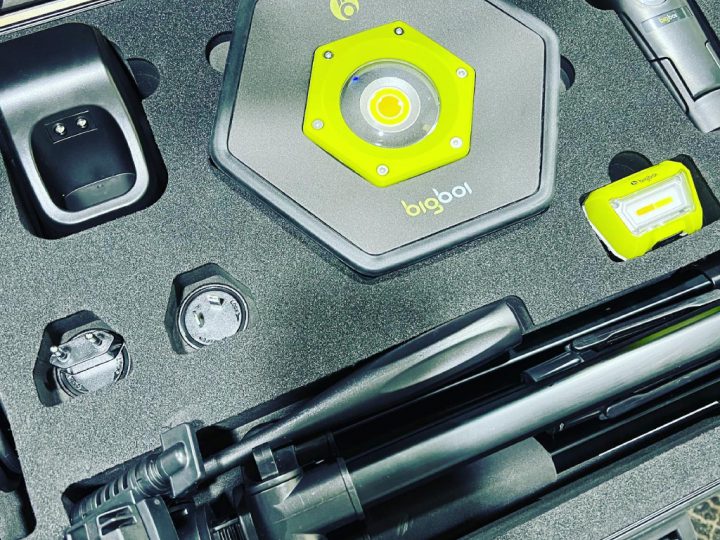
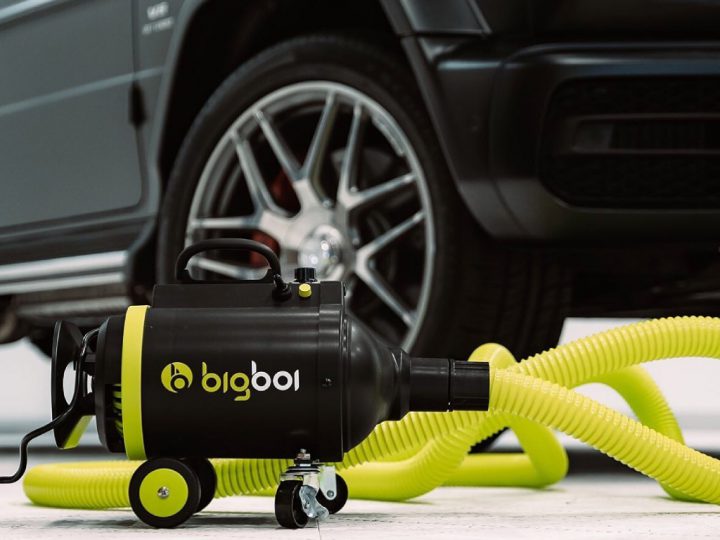
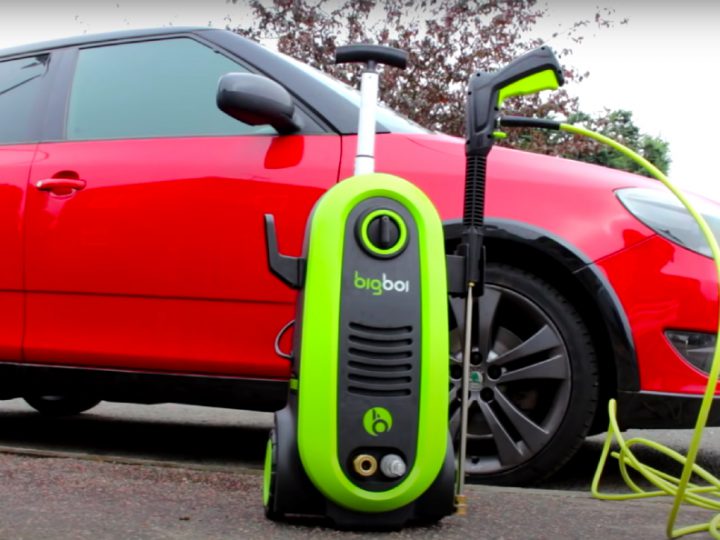
BigBoi have firmly established their brand here in the UK now thanks to their innovative take on car drying machines. The BigBoi BlowR offering has pretty much flown off the
Car Care & Detailing articles published weekly
BigBoi have firmly established their brand here in the UK now thanks to their innovative take on car drying machines. The BigBoi BlowR offering has pretty much flown off the
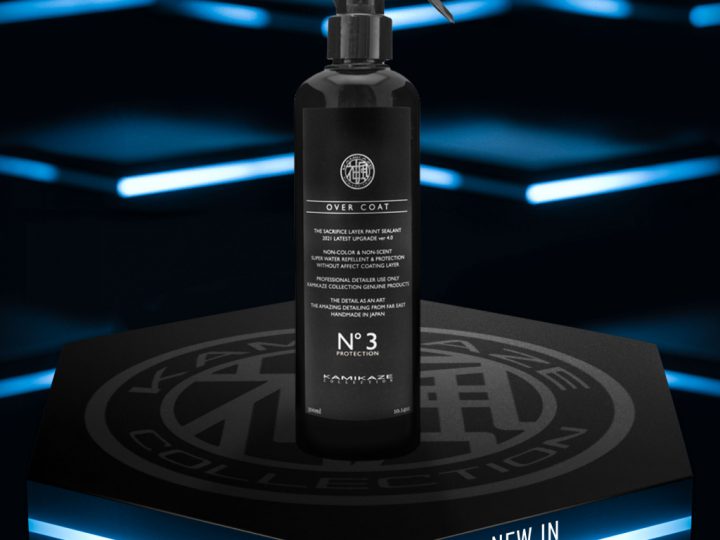
Designed to produce enhanced protection at the same time as providing a solution to the issue of water spotting, an inherent problem for inorganic coatings, Kamikaze Over Coat Version 4
The BigBoi Pro + model has finally landed here in the UK, containing all the brilliant features of the original Pro model, but now enhanced further with some cosmetic changes,
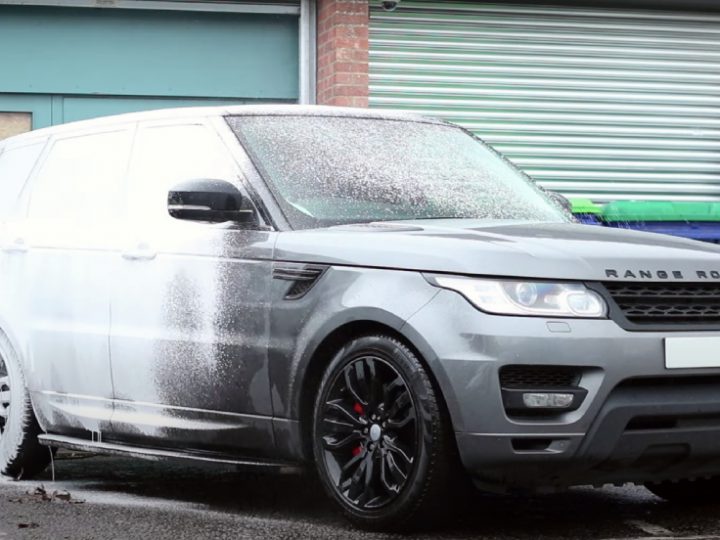
A real treat just before Christmas, this is a truly satisfying watch, if detailing is your thing of course! A 2017 Range Rover Sport dropped into Joe’s unit for a
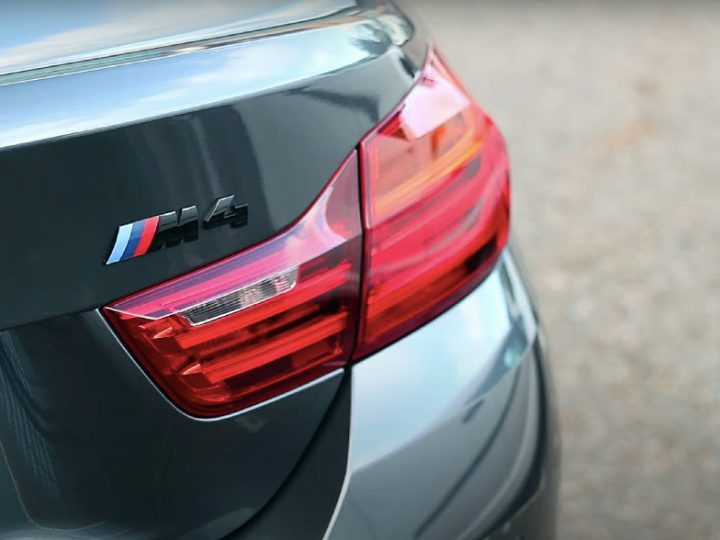
It was the return of a familiar car for Joe Huntley in his latest video. A BMW M4 which had previously left Joe fully detailed and coated, made the trip
There is no getting away from the fact that if you are serious about car detailing and car care, one of the key components to get the job done effectively
It’s an aspect of car detailing which can really take the final finish of a vehicle to the next level. You may well have the paintwork, glass and wheels all

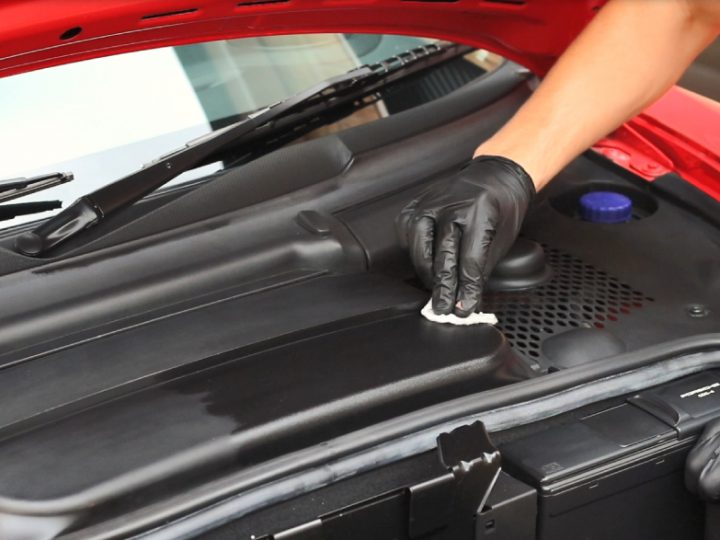
Sometimes, when you think a car isn’t actually that dirty, the truth is, when you start to get to work, things are a whole lot dirtier than meets the eye.
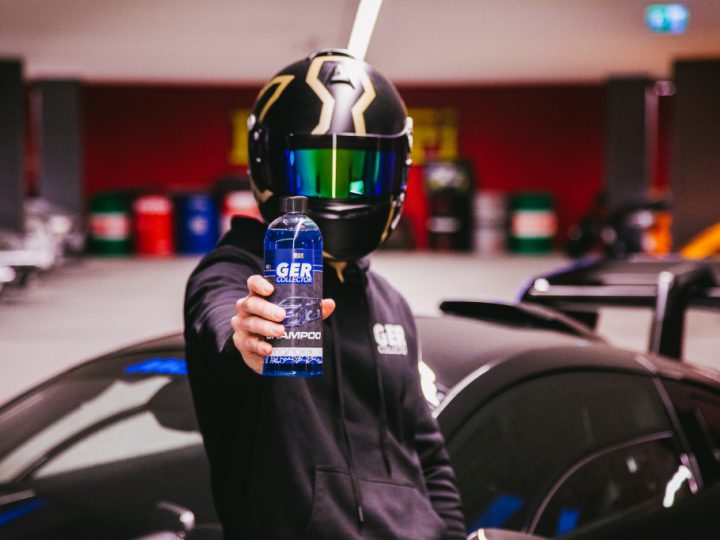
If you’re in to all thing’s supercars, then you’ll have probably heard or come across GERCollector. The German based supercar collector has amassed an astonishing following on social media in
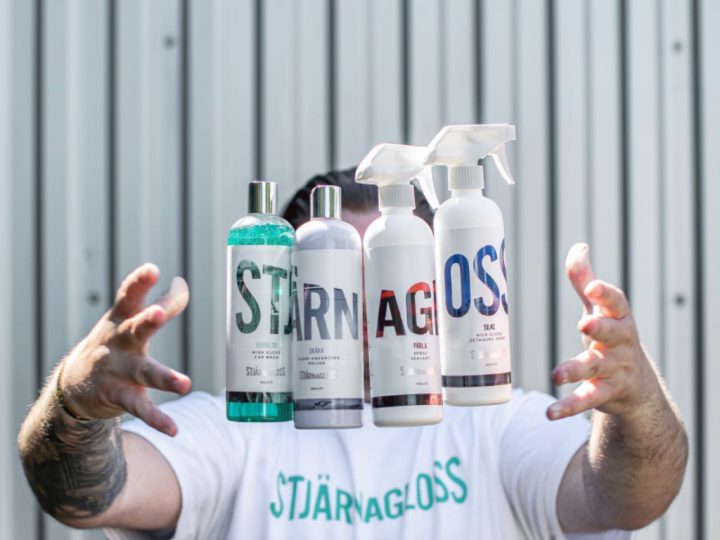
Björn again! Stjärnagloss are back and we’re delighted to announce that the full range is now available to buy from us here at UF. The Scandi inspired brand which is