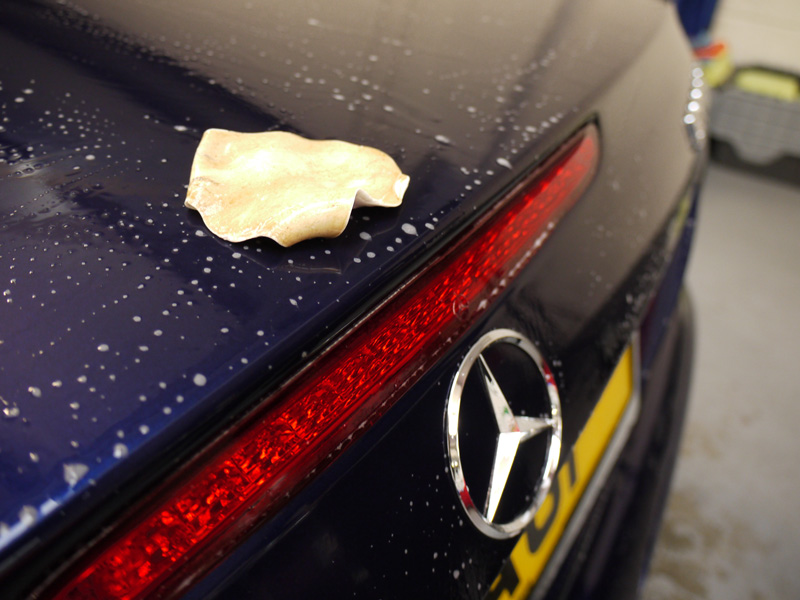
9.1 Selecting The Correct Grade of Detailing Clay
Warning: count(): Parameter must be an array or an object that implements Countable in C:\websites\theultimatefinish.co.uk\htdocs\car-care-blog\wp-content\plugins\q-and-a-focus-plus-faq\inc\functions.php on line 250

Detailing Clay is useful for removing bonded c. Badly contaminated surfaces typically require a more abrasive grade of clay to remove the contaminants, although a softer clay may do the trick and could take a lot longer! Select the finest grade of clay suitable for the job, as the more abrasive clays have the potential to introduce marring (marking) to paintwork, particularly if the paint is soft (refer to 10.5 How Hard Is My Paint?) .
Most clay bars are available in blocks of 50, 100 or 200 grams. Cut the block into several segments – not only does this make it more manageable to work with it gives the added security that should you drop a piece on the floor you will still have some spare!
All clay bars require a lubricant. Some use a standard quick detailer, some use tap water. Whichever you opt for it is important to ensure the surface you are working on is always adequately lubricated in order to ensure the clay slides easily over the panel. This allows the clay to work on the contaminants without abrading the paintwork.
Clay can be used on most surfaces (paintwork, glass, metal, alloys) with the exception of textured trim. Before starting any claying process, it’s advisable to have decontaminated, washed and rinsed the car using previously discussed methods (refer to sections 1, 4, 5, 6, 7 & 8).
Equipment:
- Clay bar (soft, medium or hard)
- Lubricant in a spray bottle
Method:
- Step 1 – Spray lubricant on to panel
- Step 2 – Using finger-tip pressure only, rub the clay over the lubricated panel. Initially this should catch and feel grabby
- Step 3 – Apply more lubricant as required
- Step 4 – When the clay runs smoothly over the surface this section is contamination-free
- Step 5 – The surface of the clay will now be contaminated. Manipulate the clay, folding the outside face to the inside in order to present a fresh section of clay to the next panel
- Step 6 – Repeat Steps 1- 5 until the whole car is contaminant free
- If you drop the clay on the floor – THROW IT AWAY !
Browse Detailing clays, Lubricants
← Car Care & Detailing Guides