Fully Rebuilt MGB GT V8 Looks Better Than New!
The MGB was originally released in 1962. A two-door sports car with a monocoque shell, it was an innovative design for its time. The GT version was introduced in October 1965 and again, introduced a ground-breaking design by Pininfarina in the form of the ‘greenhouse’ style, sloping roof angling the back lines down to the deck lid. The V8 version was introduced in 1973 and featured the lightest mass-produced aluminium V8 engine available at the time. The age of the MGB had truly arrived!
This MGB GT V8 had been completely and beautifully rebuilt using a heritage bodyshell to better than new. Every nut and bolt, the suspension components and even the glass had been replaced and now it was ready for a professional detail to bring the whole picture together.
Having spent the last few months at an eminent MG specialist in Hull, the owner finally collected the car and immediately drove the 208 miles to UF’s Brands Hatch-based Detailing Studio where it was booked in for a Gloss Enhancement Treatment to refine the brand new paintwork. The rebuilt V8 understandably had to be run in and despite driving carefully, the inevitable first stone chip was collected and would need to be addressed prior to the sealing stage.
Initially, the MGB was treated for ferrous contamination using Nanolex Wheel Cleaner & Iron Remover. This type of contamination would have been caused by the brake pads shredding when the brakes were applied (as would happen often during a 208-mile journey!) and the subsequent fine metallic particles becoming aerosolized. These particles bond with wheels and bodywork and left untreated can cause permanent pitting in the underlying substrate. As this car had recently been extensively restored, avoiding any such damage was of paramount importance.
After safely rinsing the iron contamination away, the MGB was thoroughly degreased using Bilt-Hamber Surfex-HD, to remove an oily residues and diesel splatters thrown up during the cars maiden drive.
The car was rinsed again before being treated with Ultimate Snow Foam. This non-contact pre-wash cleaner lifts remaining large particles of dirt and grit away from the surface of the vehicle and allows them to be freely rinsed away.
When a car has been freshly painted, typically the lacquer is quite soft. As such, it’s quite easy to mark so it’s really important to make sure as much of the contamination as possible is washed away before a wash mitt comes into contact with the surface. As soon as pressure is applied the chances of marking the paint increases dramatically. Non-contact decontamination and pre-cleaning helps to prevent accidental swirling and scratching. – Derek Ginger, Master Detailer, UF Detailing Studio
The car was then washed using the Two Bucket Method, an Ulti-Mitt Double Sided Merino Wash Mitt and Nanolex Pure Shampoo. This pH neutral shampoo is Phosphate free and leaves no residues behind which could if left, interfere later with the application of the final sealant. Once clean, the car was rinsed clear of suds before an Aqua Gleam De-ionising Water Filter was attached in-line with the hose to give the car a final, pure water rinse.
Then the paintwork was carefully dried using UF Ultra-Soft Microfibre Drying Towels before the car was brought into the studio. Here, an air blower was used to make sure all moisture was removed from the hard to reach areas including in the engine bay. The car was raised on the ramp to allow for the components underneath the body of the car to be dried too.
The paintwork was inspected under high-intensity lighting, during which swirls and fine surface scratches were uncovered.
It’s quite normal to find paintwork damage following a restoration. Basically, all the parts have to be refitted to the car, everything from putting the seats back in, putting the bumpers and over riders on, reinstalling the hood lining – the lot! So it’s inevitable that some marks are going to end up in the lacquer – it’s unavoidable. New paint is quite soft, so that has to be taken into account when deciding which products to use to correct the defects. – Derek Ginger, Master Detailer, UF Detailing Studio
Before commencing the paint correction process, the door mirrors were removed to allow for easier access to a flatter surface, rather than attempting to polish around the tricky area.
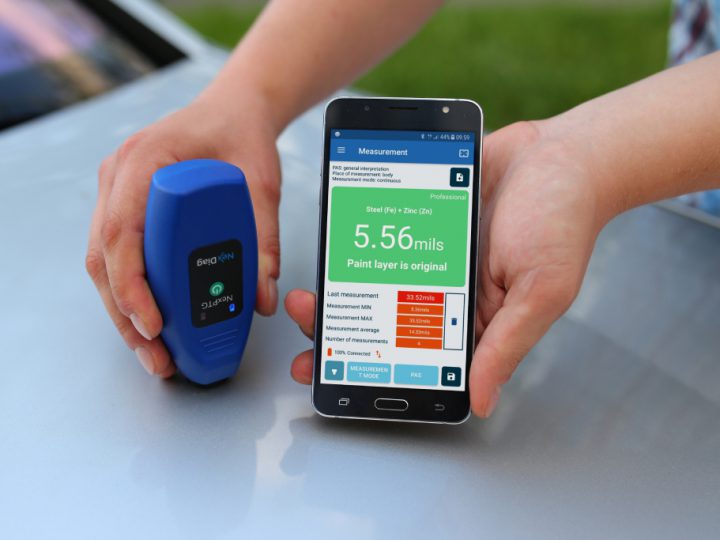
Before machine polishing, multiple paint depth measurements were taken to determine the paint thickness. An important step with brand new paint as it’s imperative to know precisely how much paint has been applied.
To protect the brightwork and marque badges and to prevent polishing compound becoming lodged in the gaps, all badges, trim and detailing were masked with 3M detailing tape.
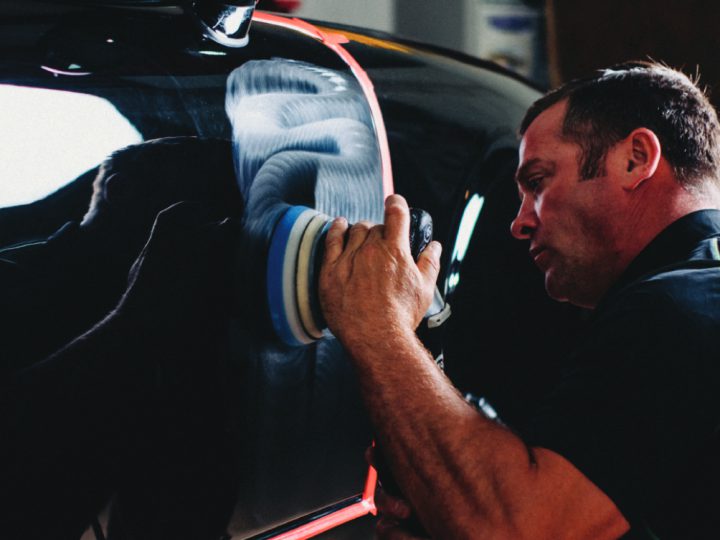
To correct the damage, a FLEX PE14-2 rotary machine polisher was used with Menzerna Heavy Cut Compound 400. Working with both a 3M PERFECT-IT III Yellow Polishing Pad and the Kamikaze Collection Banzai Dynamics Polishing Pad the scratches and swirls were removed from the metallic grey paintwork.
The Banzai pads work really well, and even though they are designed to be used with a dual action (DA) polisher, I really like the results I get when I use it on a rotary. The unique DPP (Dot Point Polishing) surface design incorporates foam ‘nipples’ to reduce the surface temperature during working whilst retaining cut and reducing holograms. This ensured that I got just the right amount of cut without putting additional marks into the softer new paintwork. – Derek Ginger, Master Detailer, UF Detailing Studio
For the refining stage, a 3M PERFECT-IT III Blue Polishing Pad was used with Menzerna Super Finish Plus 3800 (previously known as PO85RD . Designed with show cars in mind, SFP 3800 contains the finest polish abrasives to remove fine swirls leaving a high gloss reflective shine.
The stone chip was repaired using ChipEx Car Paint Chip Repair System which uses the paint code to match the colour precisely. The paint is carefully applied to the chip using a special applicator to build the layer up, levelling out the surface, then dabbed lightly to flatten it. After curing it is wiped with a blending solution to remove the excess. The result vastly improves the appearance of the chip and effectively takes it out of your eye line.
To protect the refined paintwork, Nanolex Si3D HD* was applied. This nano sealant lays down a 3D matrix which makes it highly effective at repelling water, dirt and oils.
The matrix effectively cures with minute hair-like crystals which push contamination away, making it impossible for grime to stick to the surface. It’s so effective even a second layer of sealant is repelled, so one layer provides all the protection and shine you need. – Derek Ginger, Master Detailer, UF Detailing Studio
Once Si3D HD had cured, the door mirrors were reaffixed, then all the chrome brightwork was polished using Gtechniq M1 All Metal Cleaner. Rather than containing abrasive elements, M1 is a gentle chemical cleaner that polishes metals to a warm lustre.
To complete the transformation, original design 15″ works split rims were delivered to replace the existing wheels. Before being fitted to the car, the rims were first polished, treated with panel wipe and then both sides protected using Gtechniq C5 Alloy Wheel Armour. This heat resistant nano sealant protects from the build-up of brake dust whilst repelling water, dirt, grease and oils.
The windows were treated with Gtechniq G1 ClearVision Glass Sealant. This helps to disperse rain, ideal for classic cars as windscreen wipers can be less effective than those found on modern cars.
Completely protected, the MGB GT V8 sparkled in the sunshine. Safe to say, this classic car looked better than ever, and certainly wasn’t showing her age!
*Nanolex Si3D HD is available as a service only through Nanolex-approved detailing studios and is one of the sealant upgrades available with UF’s comprehensive range of detailing services.
UF Detailing Studio – Award Winning Detailing. Call 0333 800 8004 to discuss your requirements.