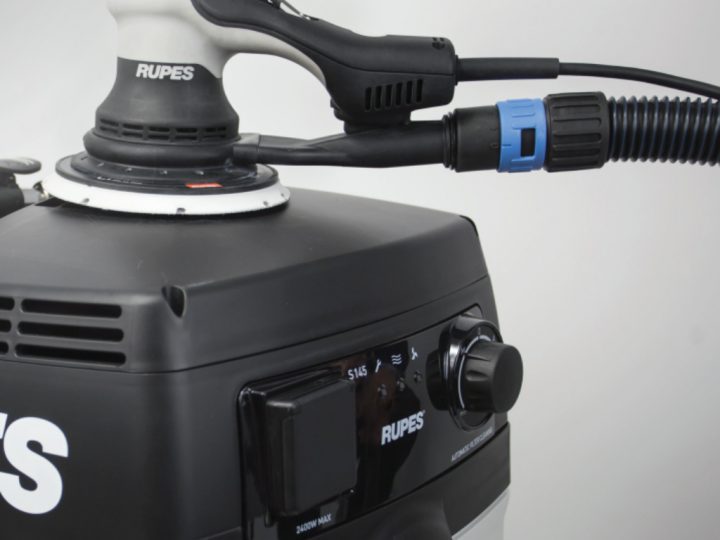
We get frequent requests to stock various pieces of detailing equipment here at Ultimate Finish. And, where possible, we’ll always try our best to put the item in question on
Car Care & Detailing articles published weekly
We get frequent requests to stock various pieces of detailing equipment here at Ultimate Finish. And, where possible, we’ll always try our best to put the item in question on
We’ve long been a great admirer of Lake Country and their specialist machine polishing pads. Now, we can finally announce the addition of Lake Country Machine Polishing Pads to our
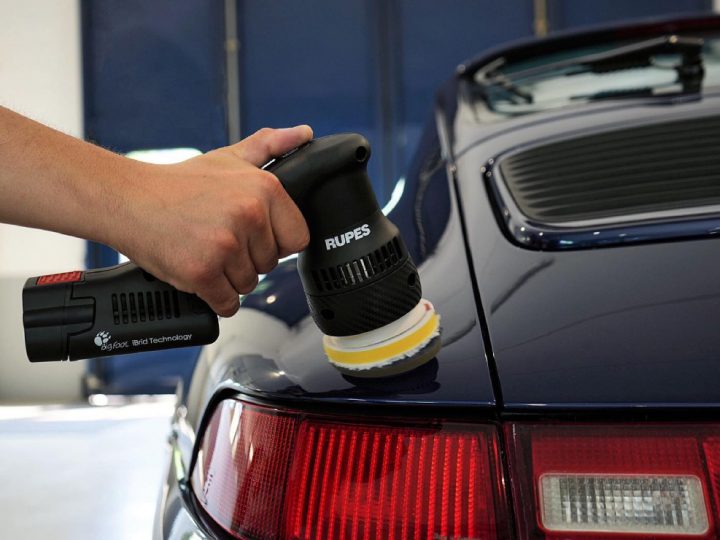
Brand new to the BigFoot range, the Mini iBrid RUPES HLR75 Polisher is the very latest in the ongoing evolution of RUPES tools featuring iBrid Technology. Offering a 12mm orbit
Back after a mini-break from the world of detailing videos on YouTube, Joe Huntley has made a welcome return to our screens. The subject of this particular detailing journey is
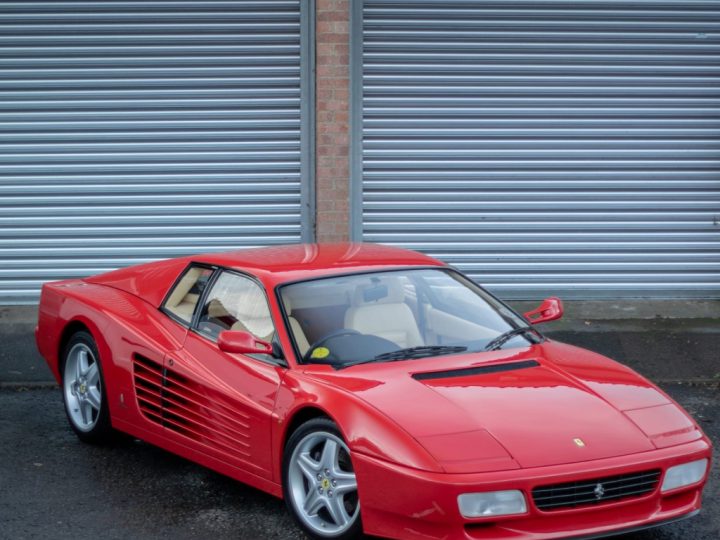
There cannot be too many more cars that surpass the ‘poster pin-up-ness’ of a Ferrari Testarossa. Pop-up lights, oodles of power, billowing engine note, bright red paintwork (most commonly) and
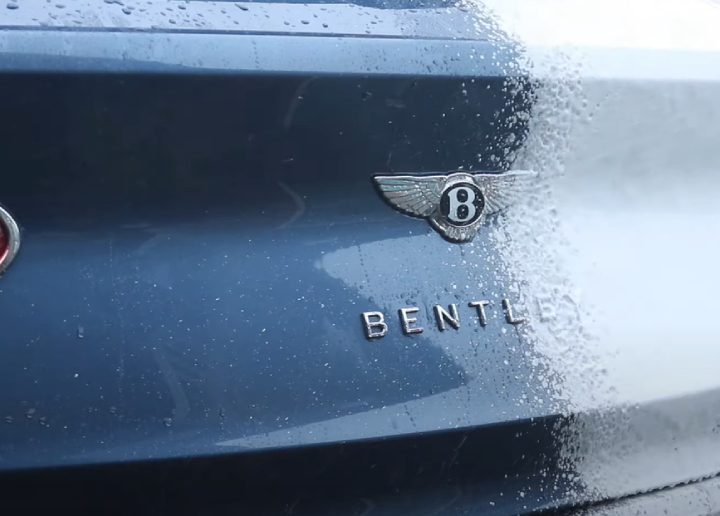
In for a new car detailing service, this Crystal Blue Bentley Bentayga 2021 would require a full going over, including machine polishing and a ceramic coating courtesy of Gtechniq’s Crystal
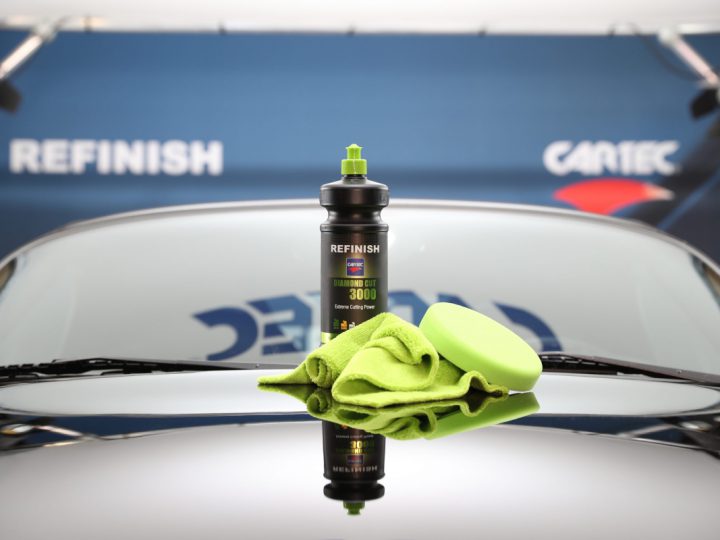
The Cartec label is starting to appear more and more in detailing workshops and studios, not just in the UK, but globally. For those of you which are new to
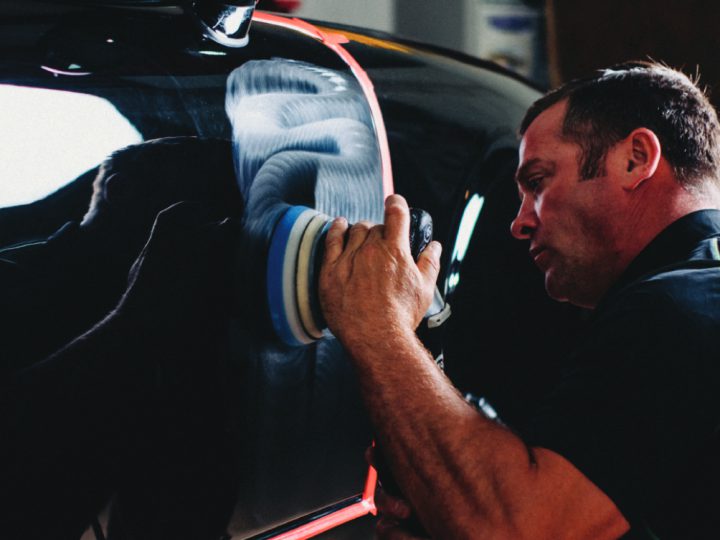
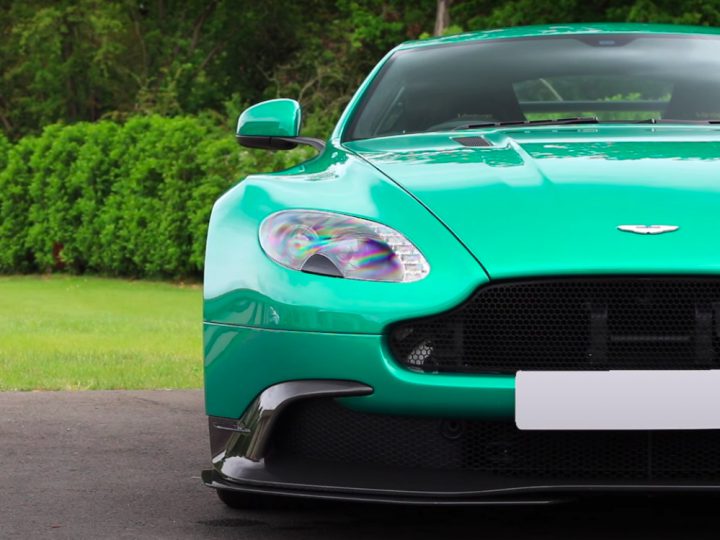
When imperfections on a car aren’t budging with your usual car care methods, taking your detailing expertise a little further, such as machine polishing, is often the next port of
There are certain cars which go hand-in-hand with a particular brand of product when the time comes to carry out a thorough detail. Case in point for Joe Huntley’s latest
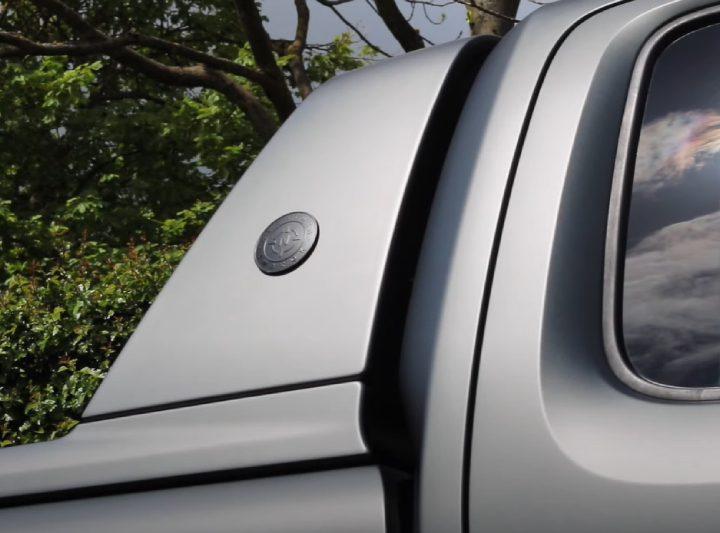
One of the subjects we get asked about here at UF on an increasing basis is how best to care for Matte & Satin paint finishes. How should you clean